
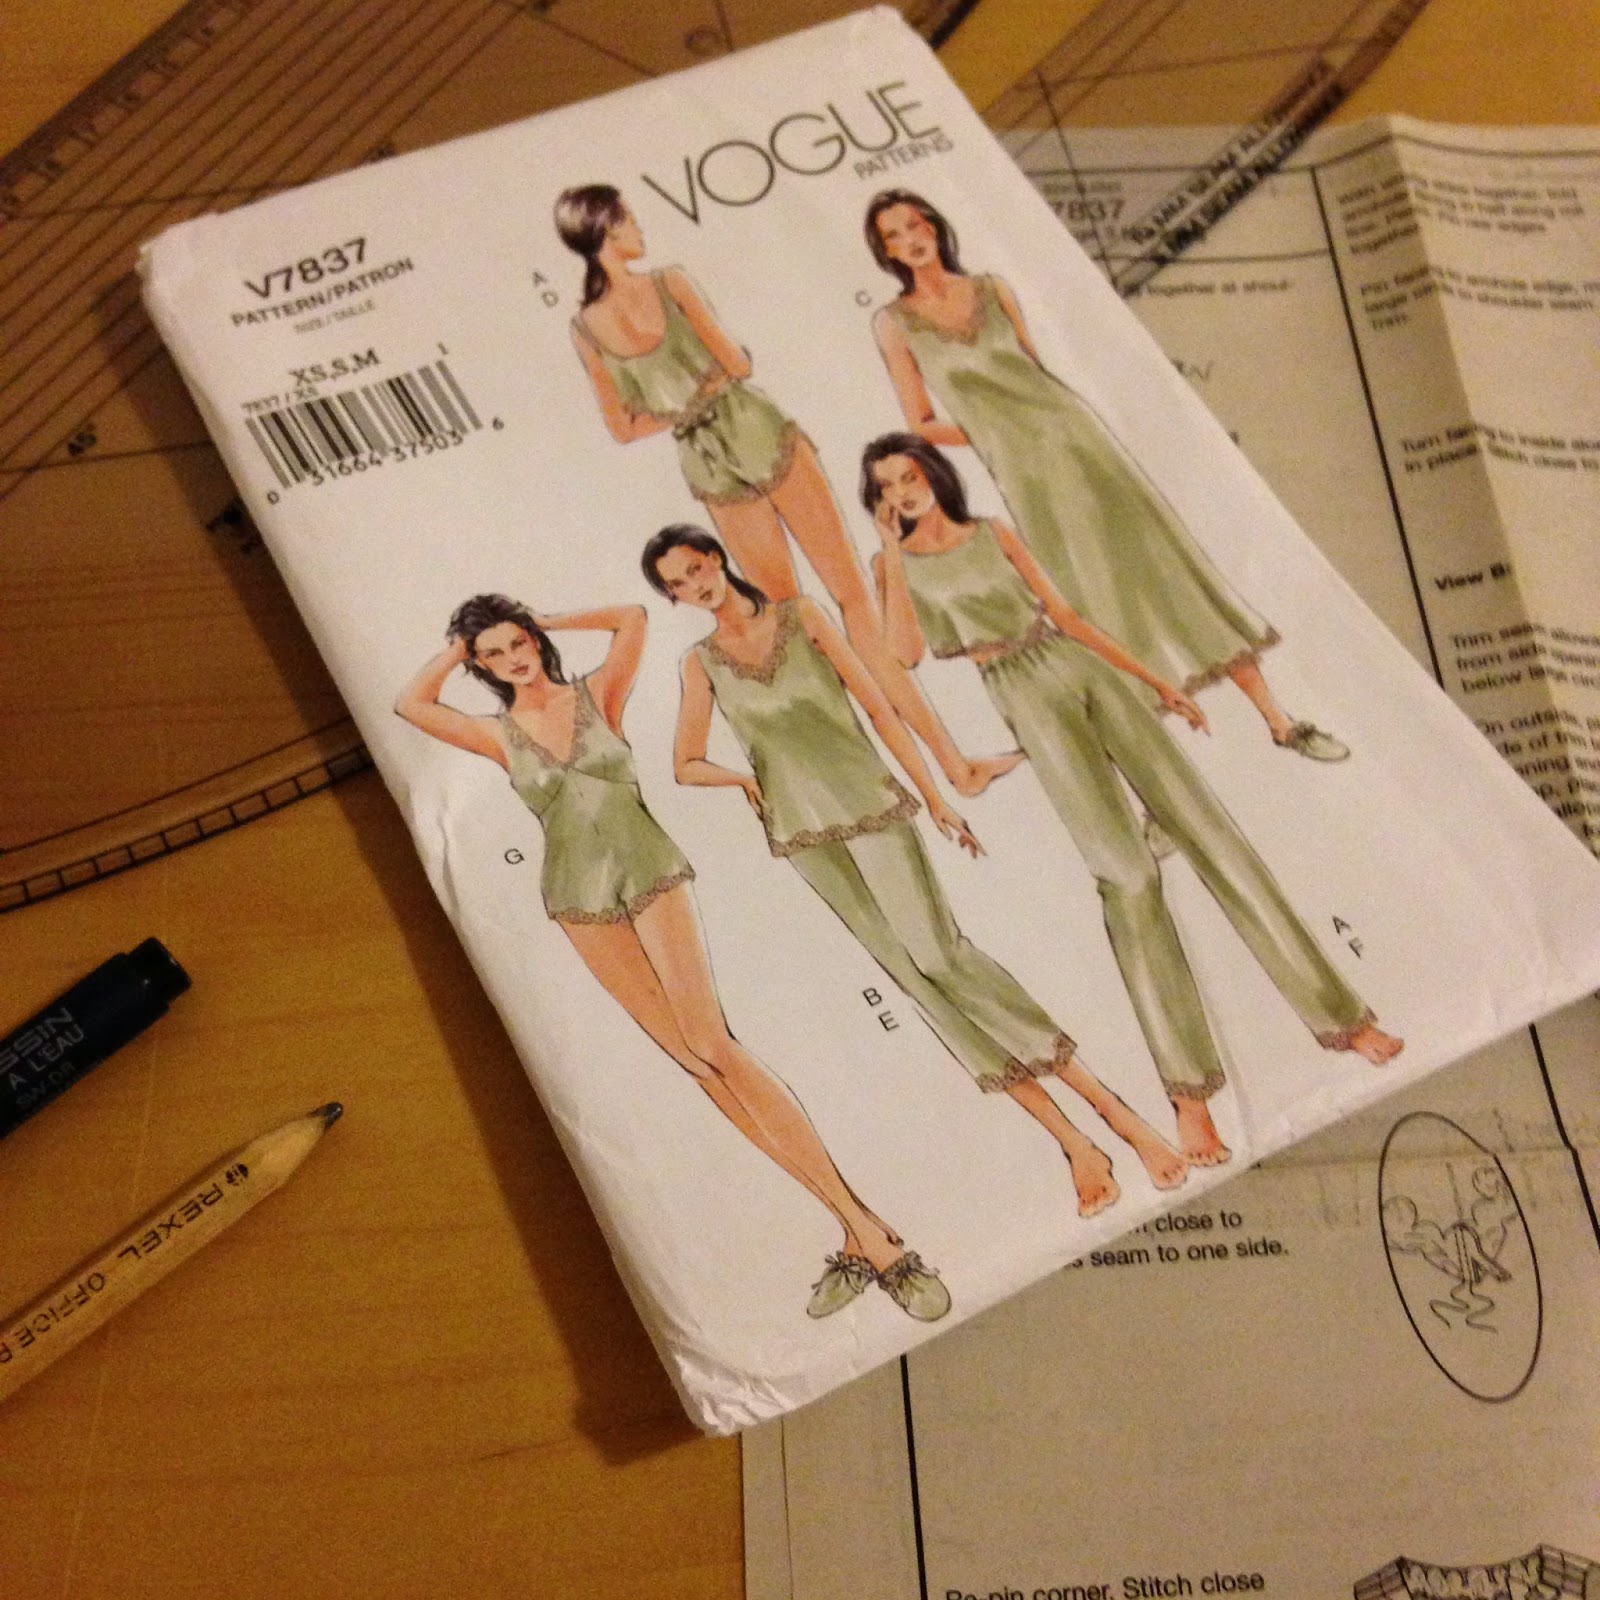
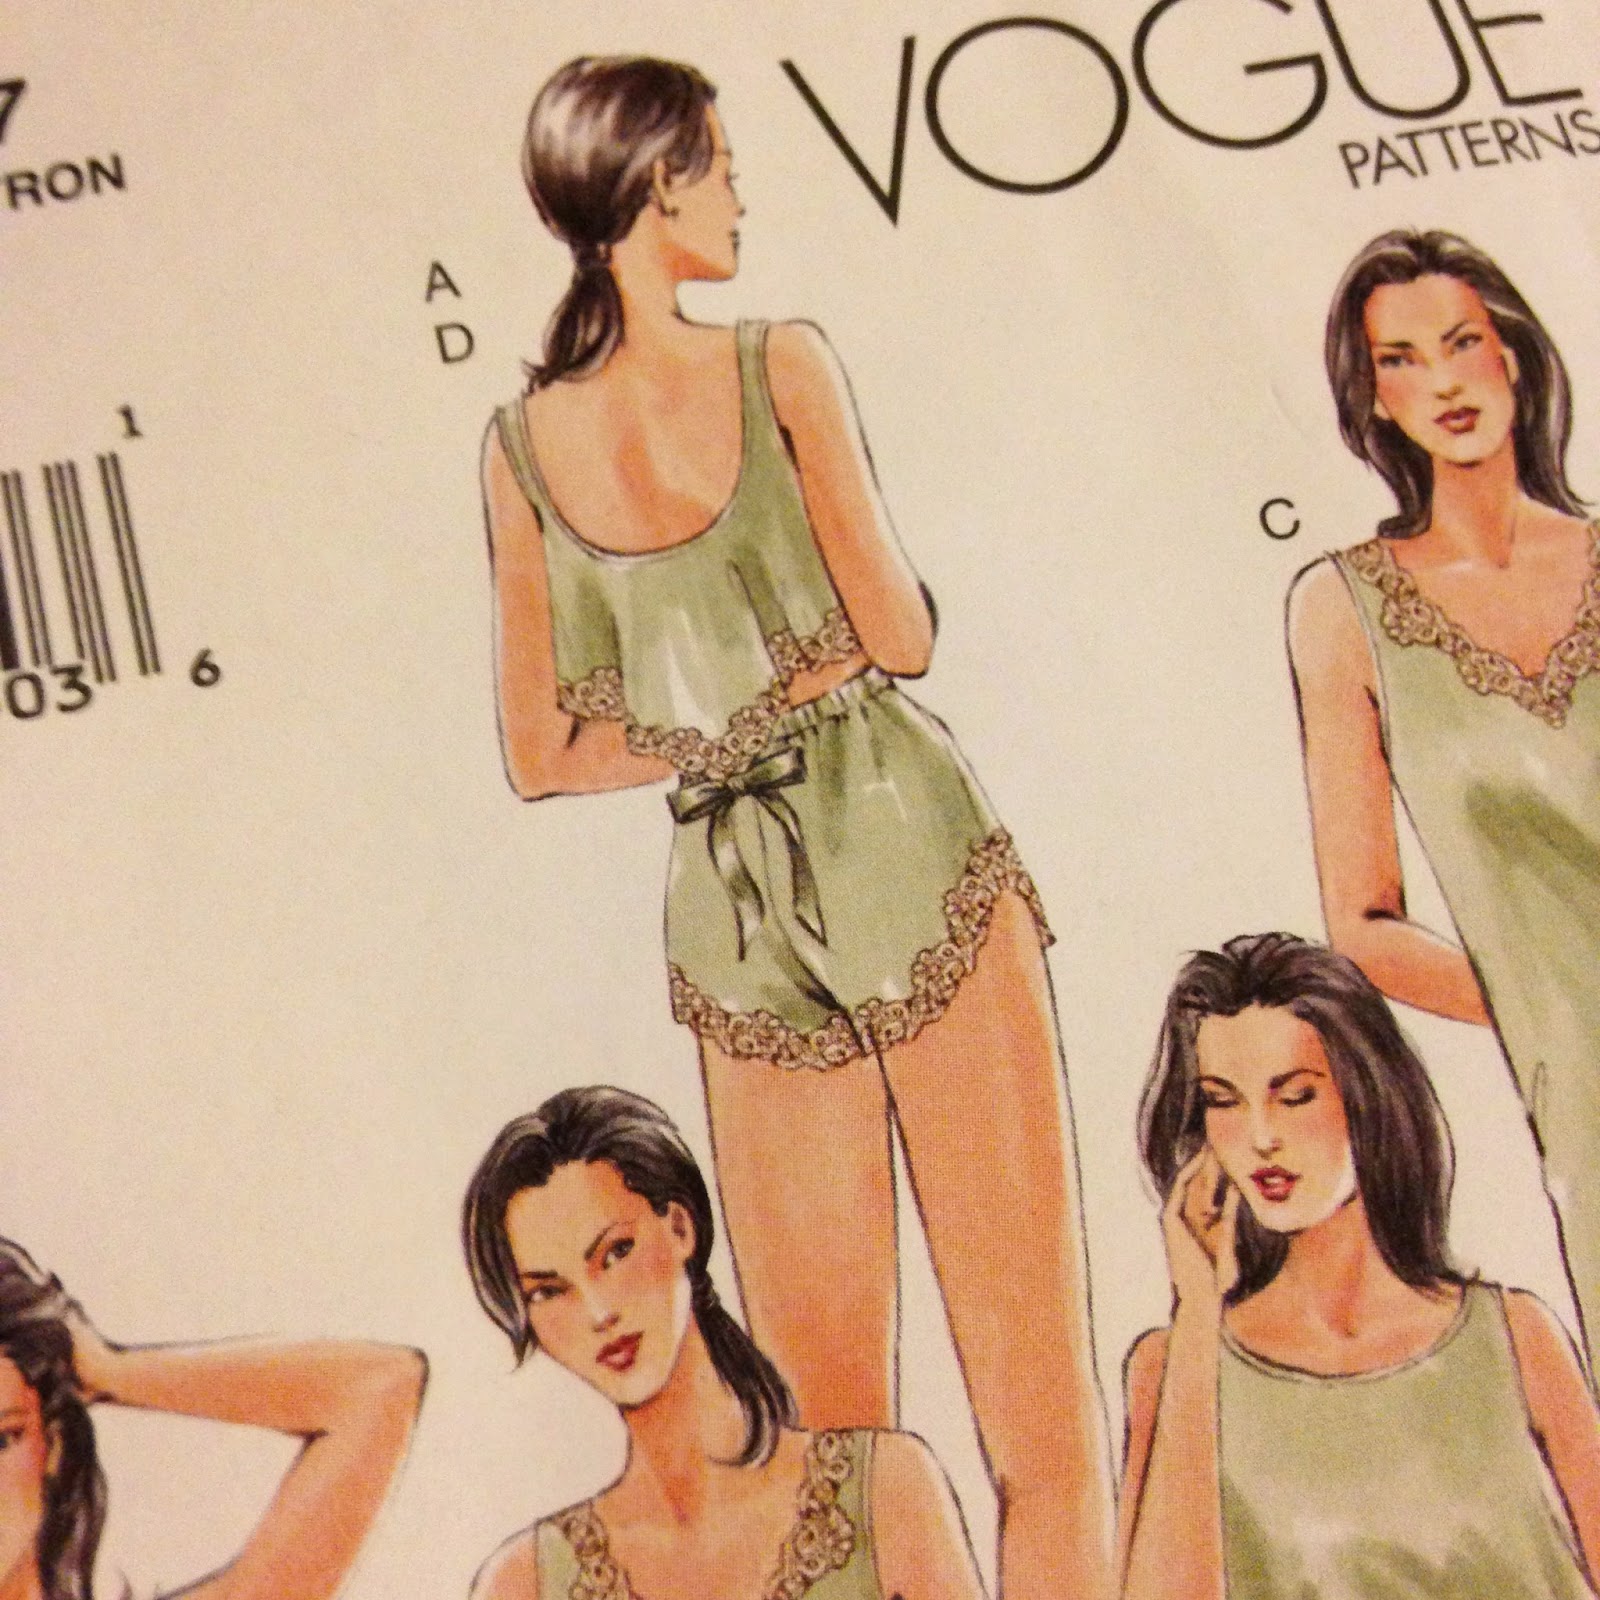
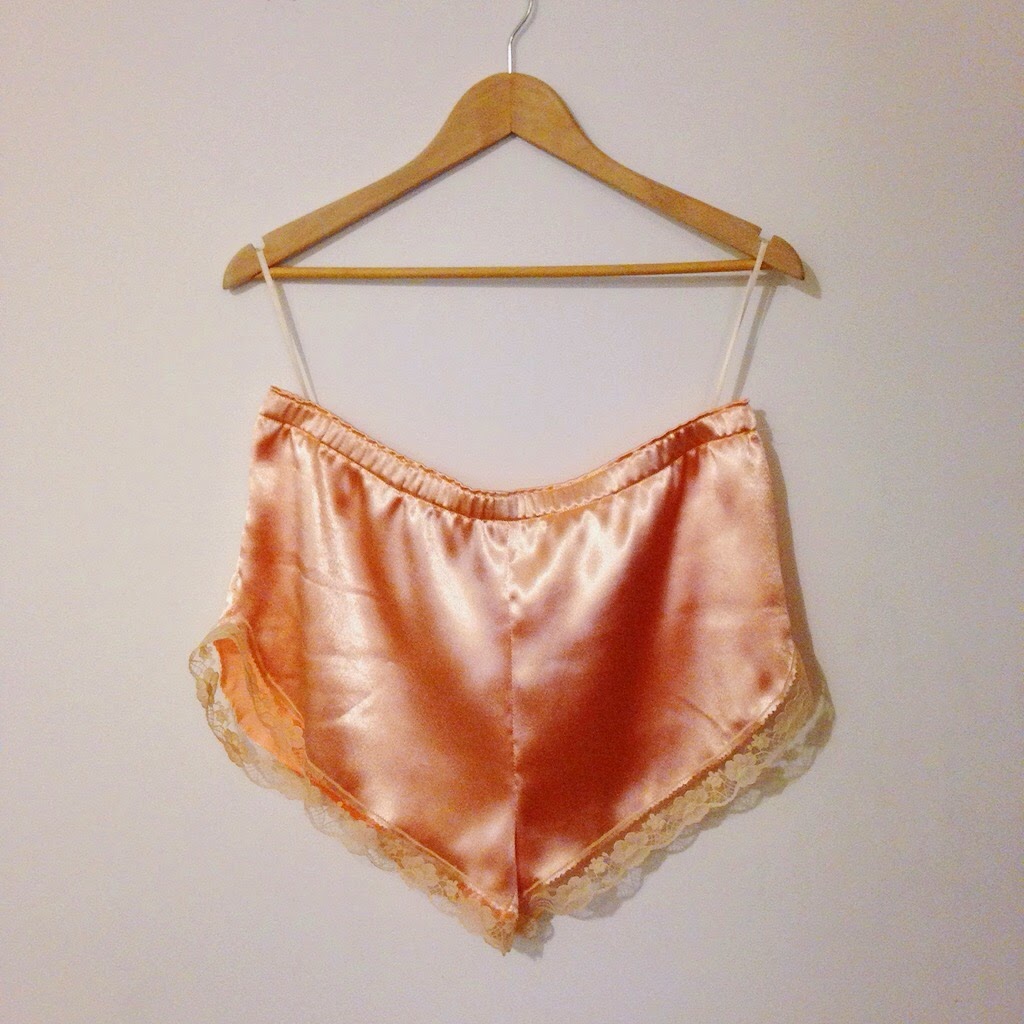
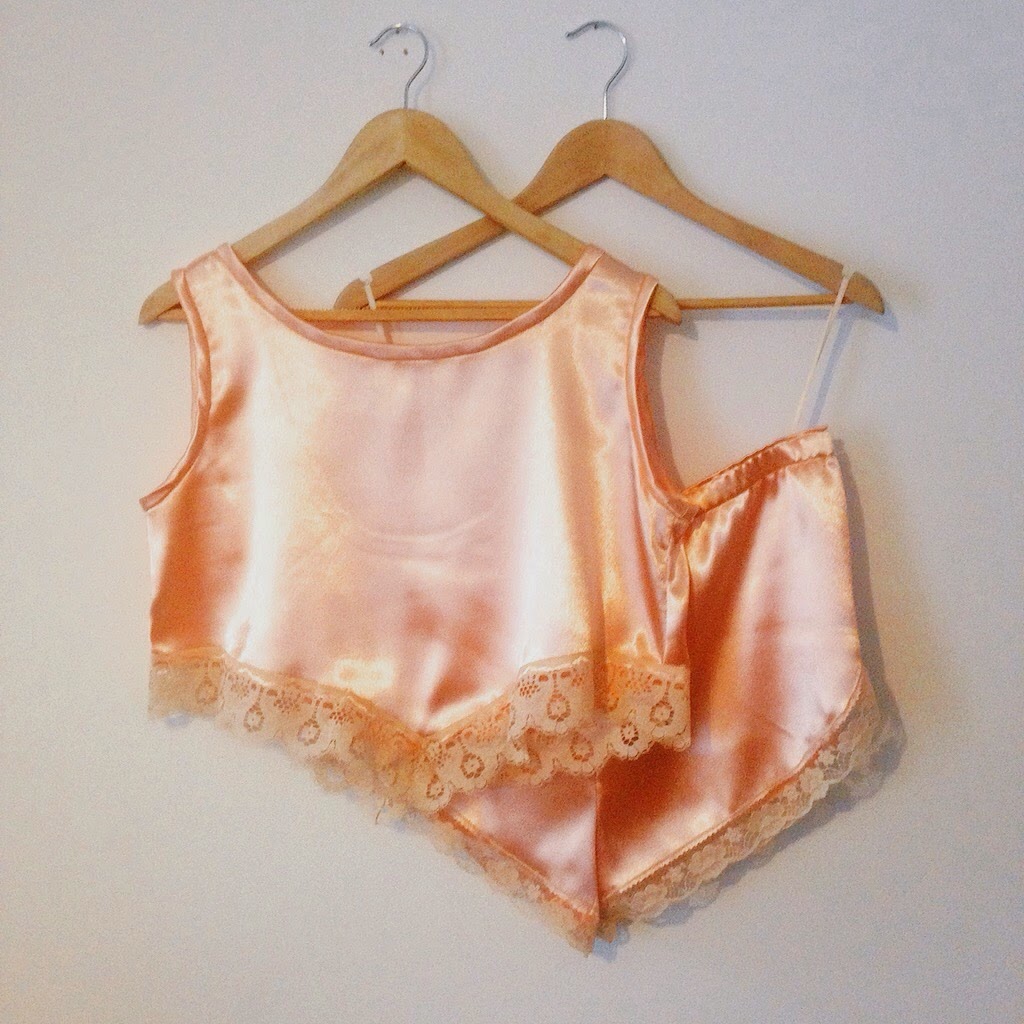
When Jo decided to tackle a Halloween costume for one of her WhiteTree projects, she came up with a truly challenging idea. We're pleased to say she pulled it off with spectacular results. Here's a clue .....
When Jo decided to tackle a Halloween costume for one of her WhiteTree projects, she came up with a truly challenging idea. We're pleased to say she pulled it off with spectacular results. Here's a clue .....
I decided to use a french seam on the side seams and shoulder seams this isn't in the instructions but I don't have an overlocker and wanted a neat finish plus I do love a french seam! They look really professional but are really super easy once you know how!
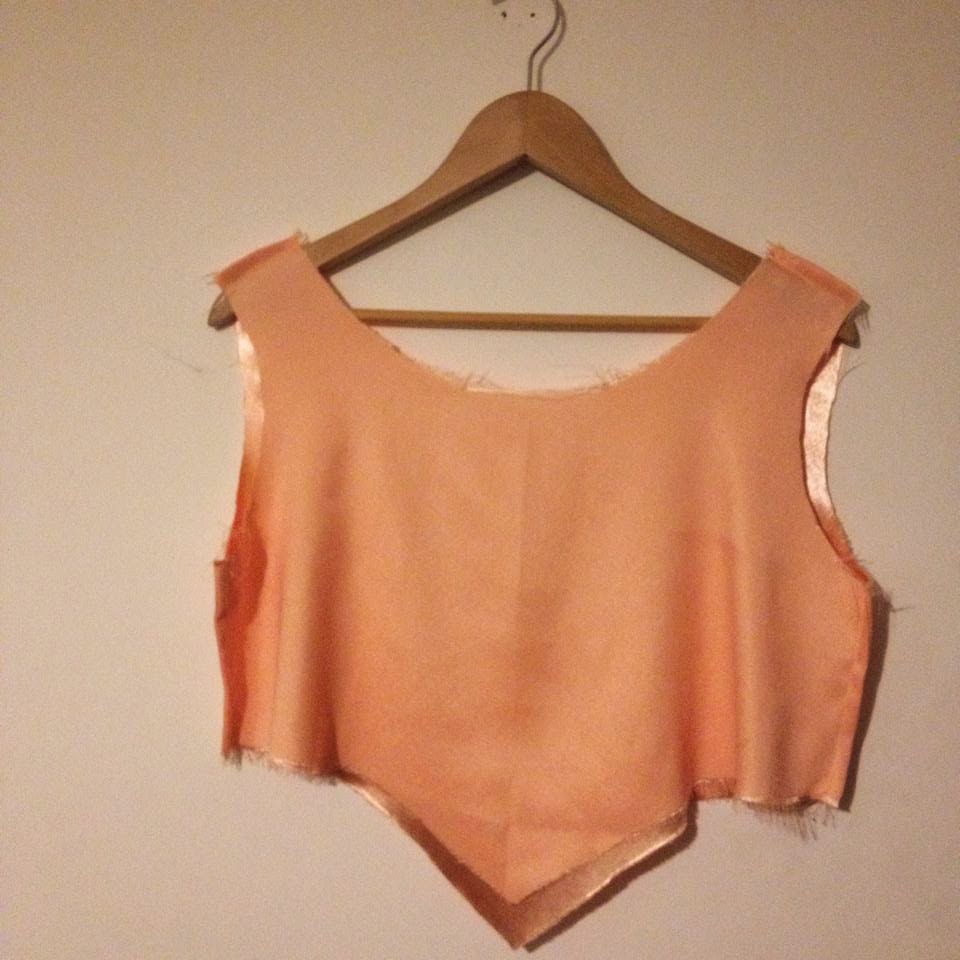
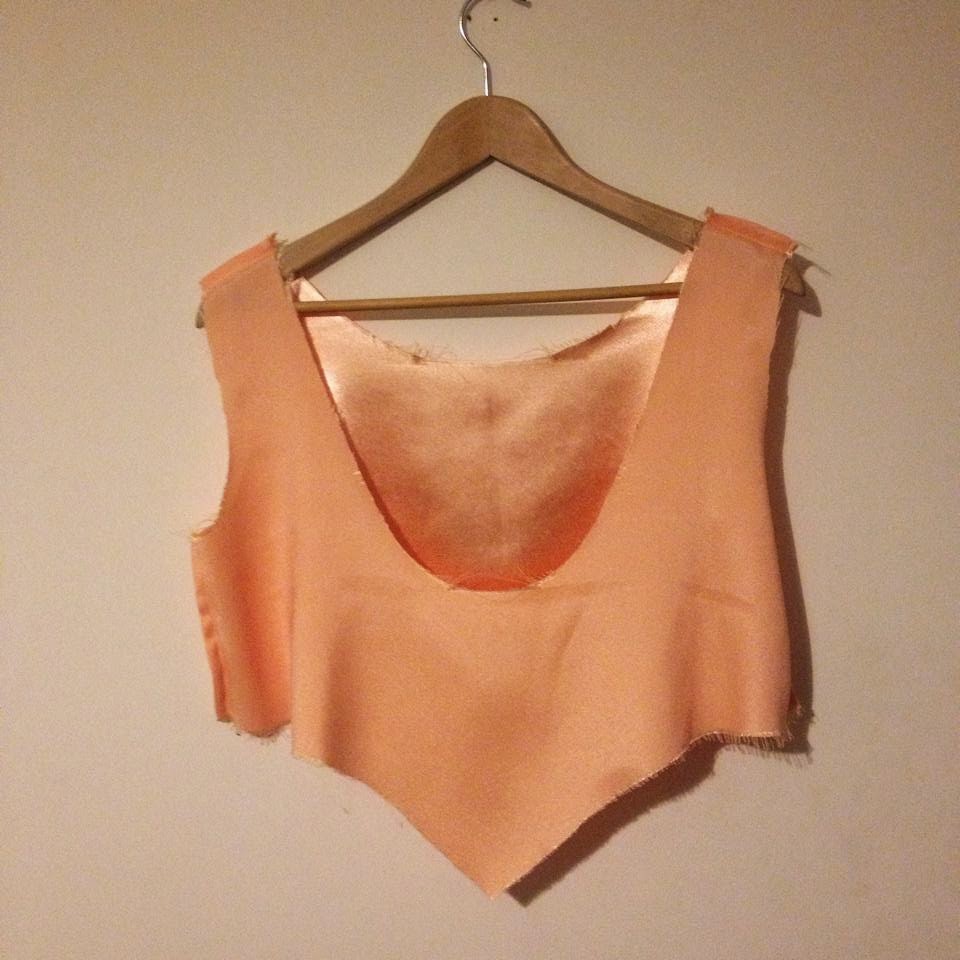
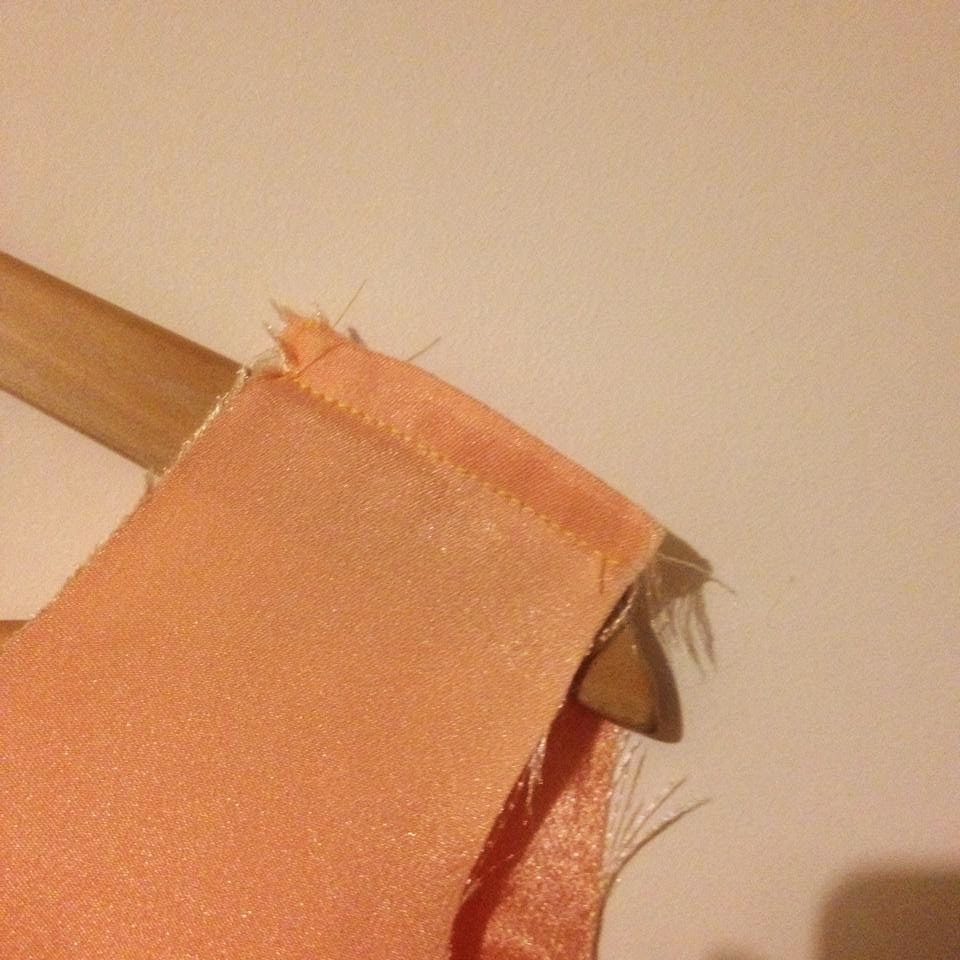
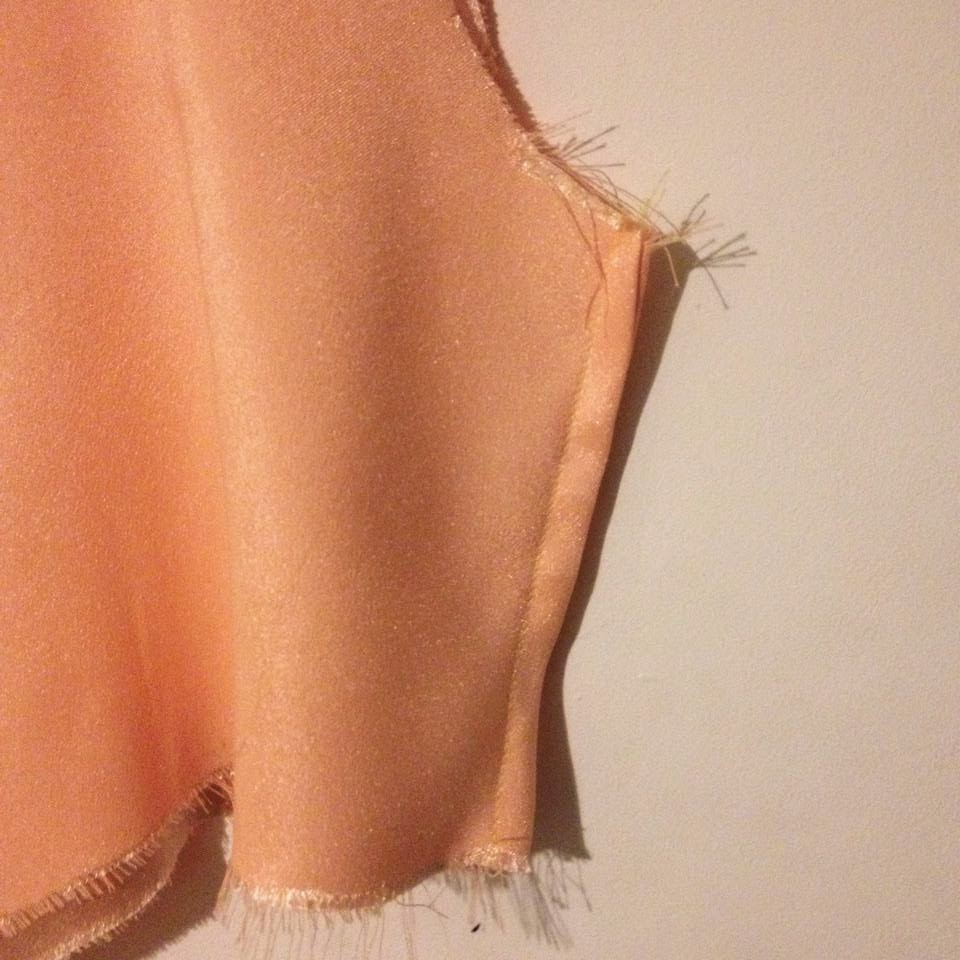
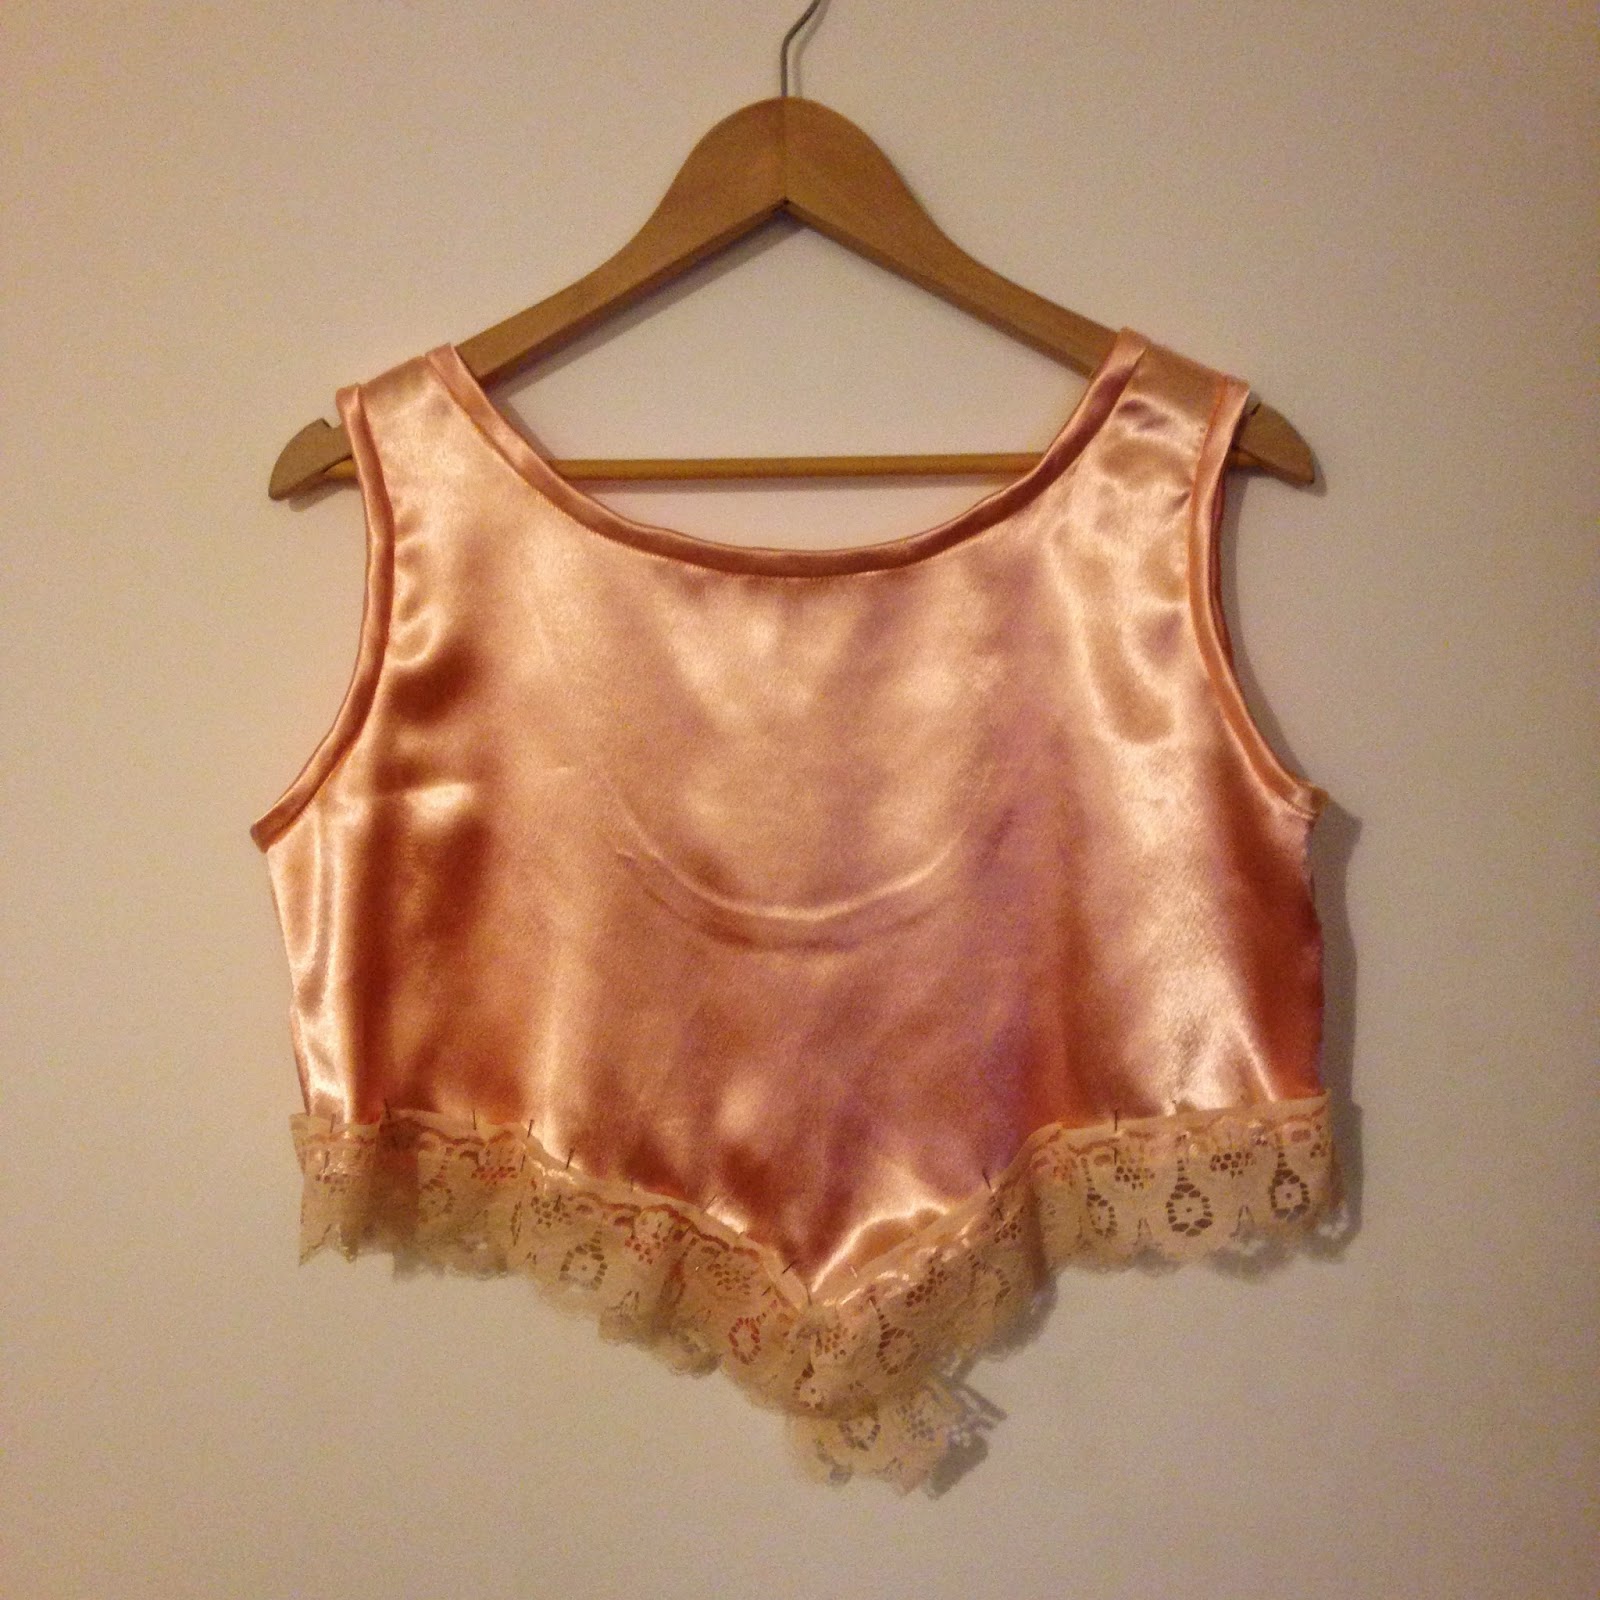
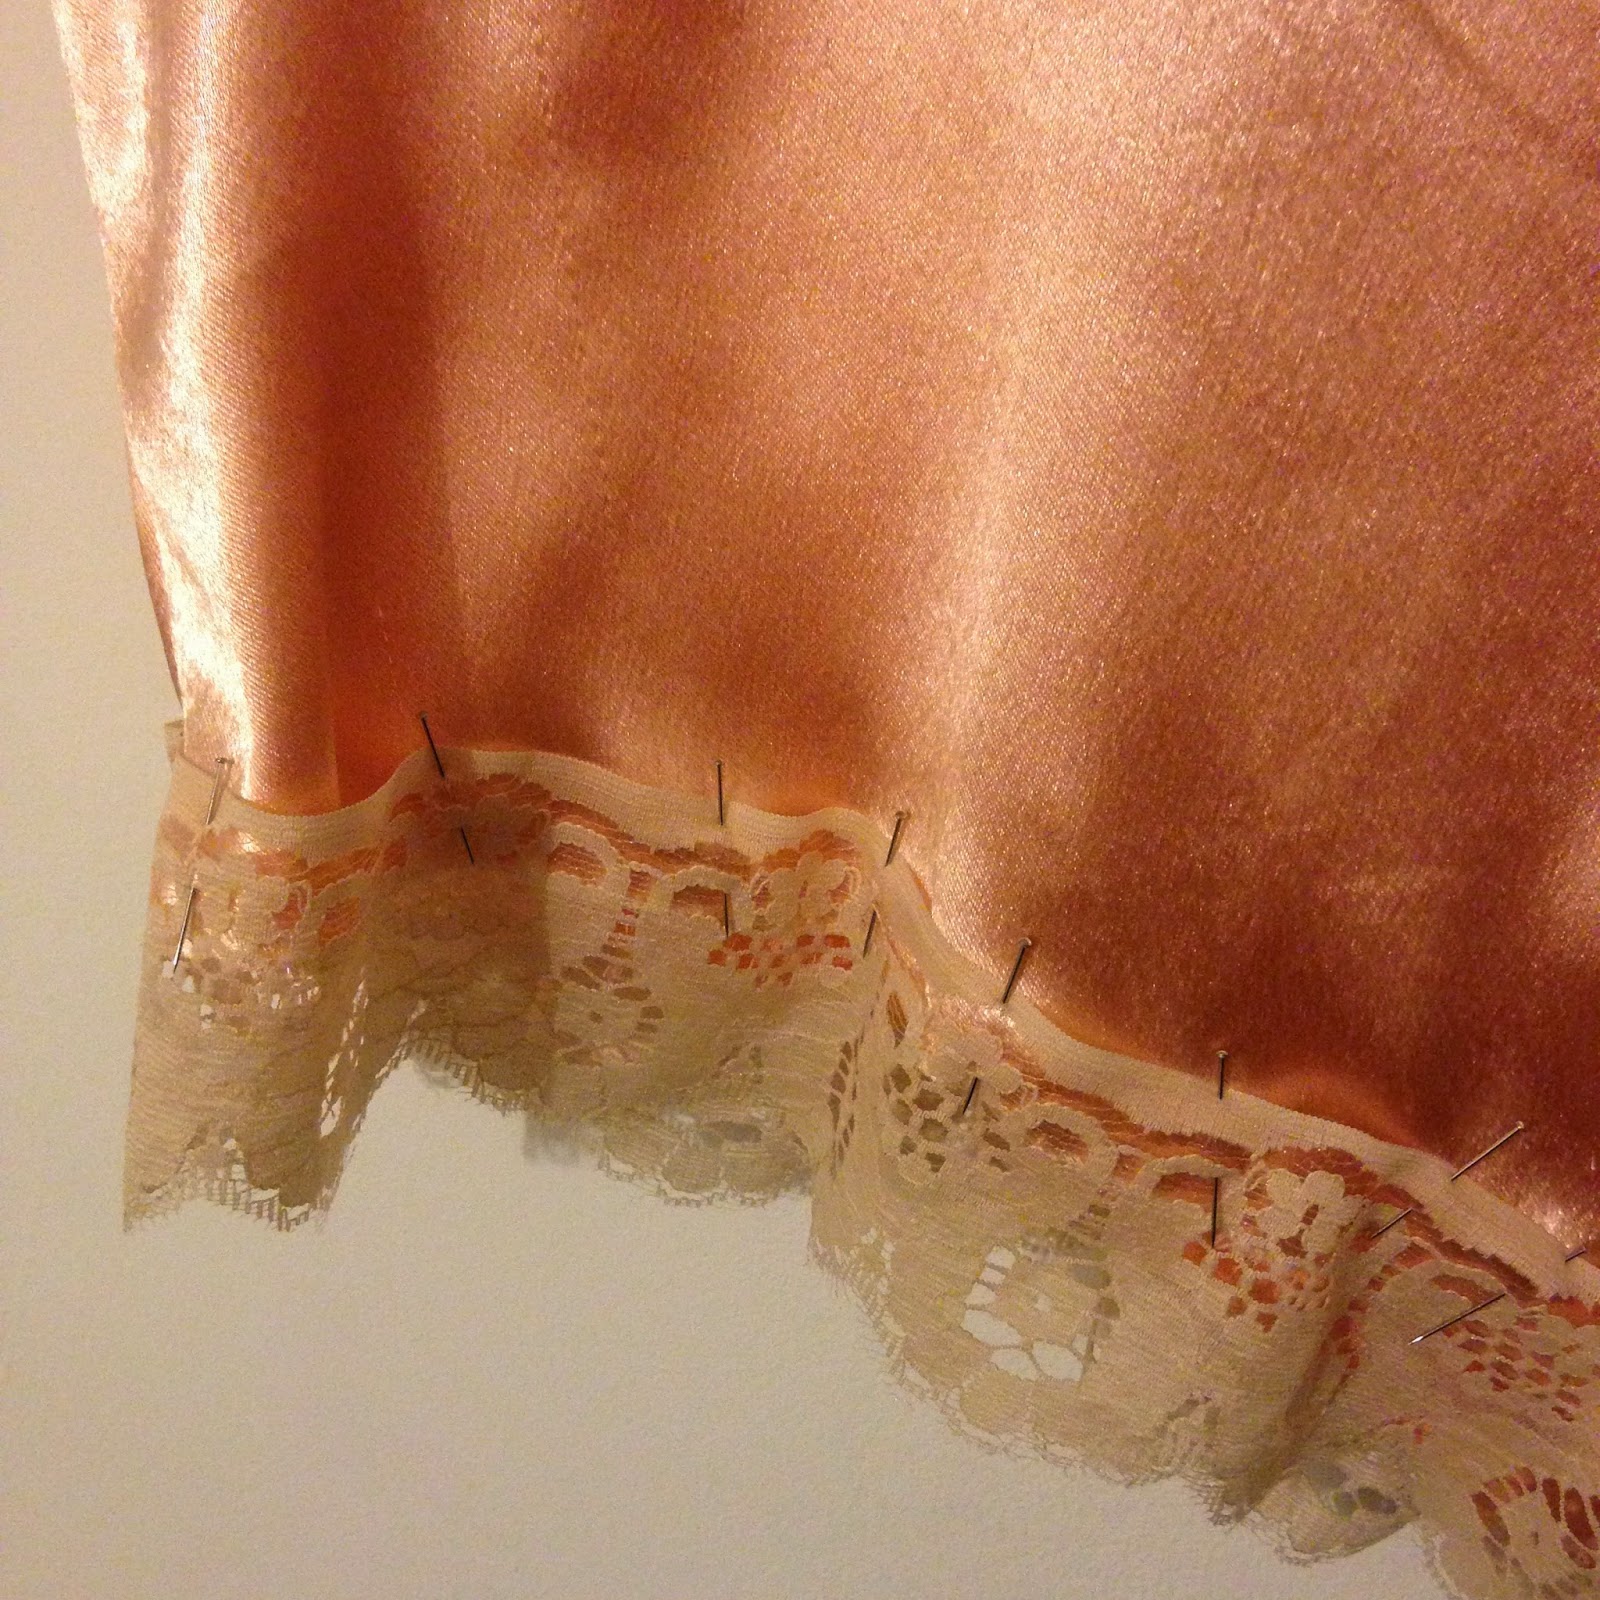
Then came the binding, now I won't lie bias binding in Crepe Back Satin is a slippery sucker that does not want to do as it's told, but be patient it's worth it I promise. You'll need a lot of pins to!
When Jo decided to create her own dress to wear to a wedding, she decided on chiffon as the main fabric for the dress. Chiffon is a sheer, floaty fabric which can sometimes mean it's a labour of love to sew with. However, the results are so rewarding when you have a gorgeous, light, flowing dress at the end of your project, as Jo discovered. Here's how her make went!
As many of our lovely blog readers are aware, we have joined forces with the fabulous White Tree Fabrics and become part of their blogging team. So here is my first project post. I have to admit this project has pushed me to the max and almost had me in tears when I had a very close call with an iron.
I chose a wine chiffon with a red lining for my dress and I seem to be loving the colour red at the moment and it can be worn in any season.
So here’s a link to my vogue pattern and how it's supposed to look, and as many people will know I like to chop and change things and alter and embellish.
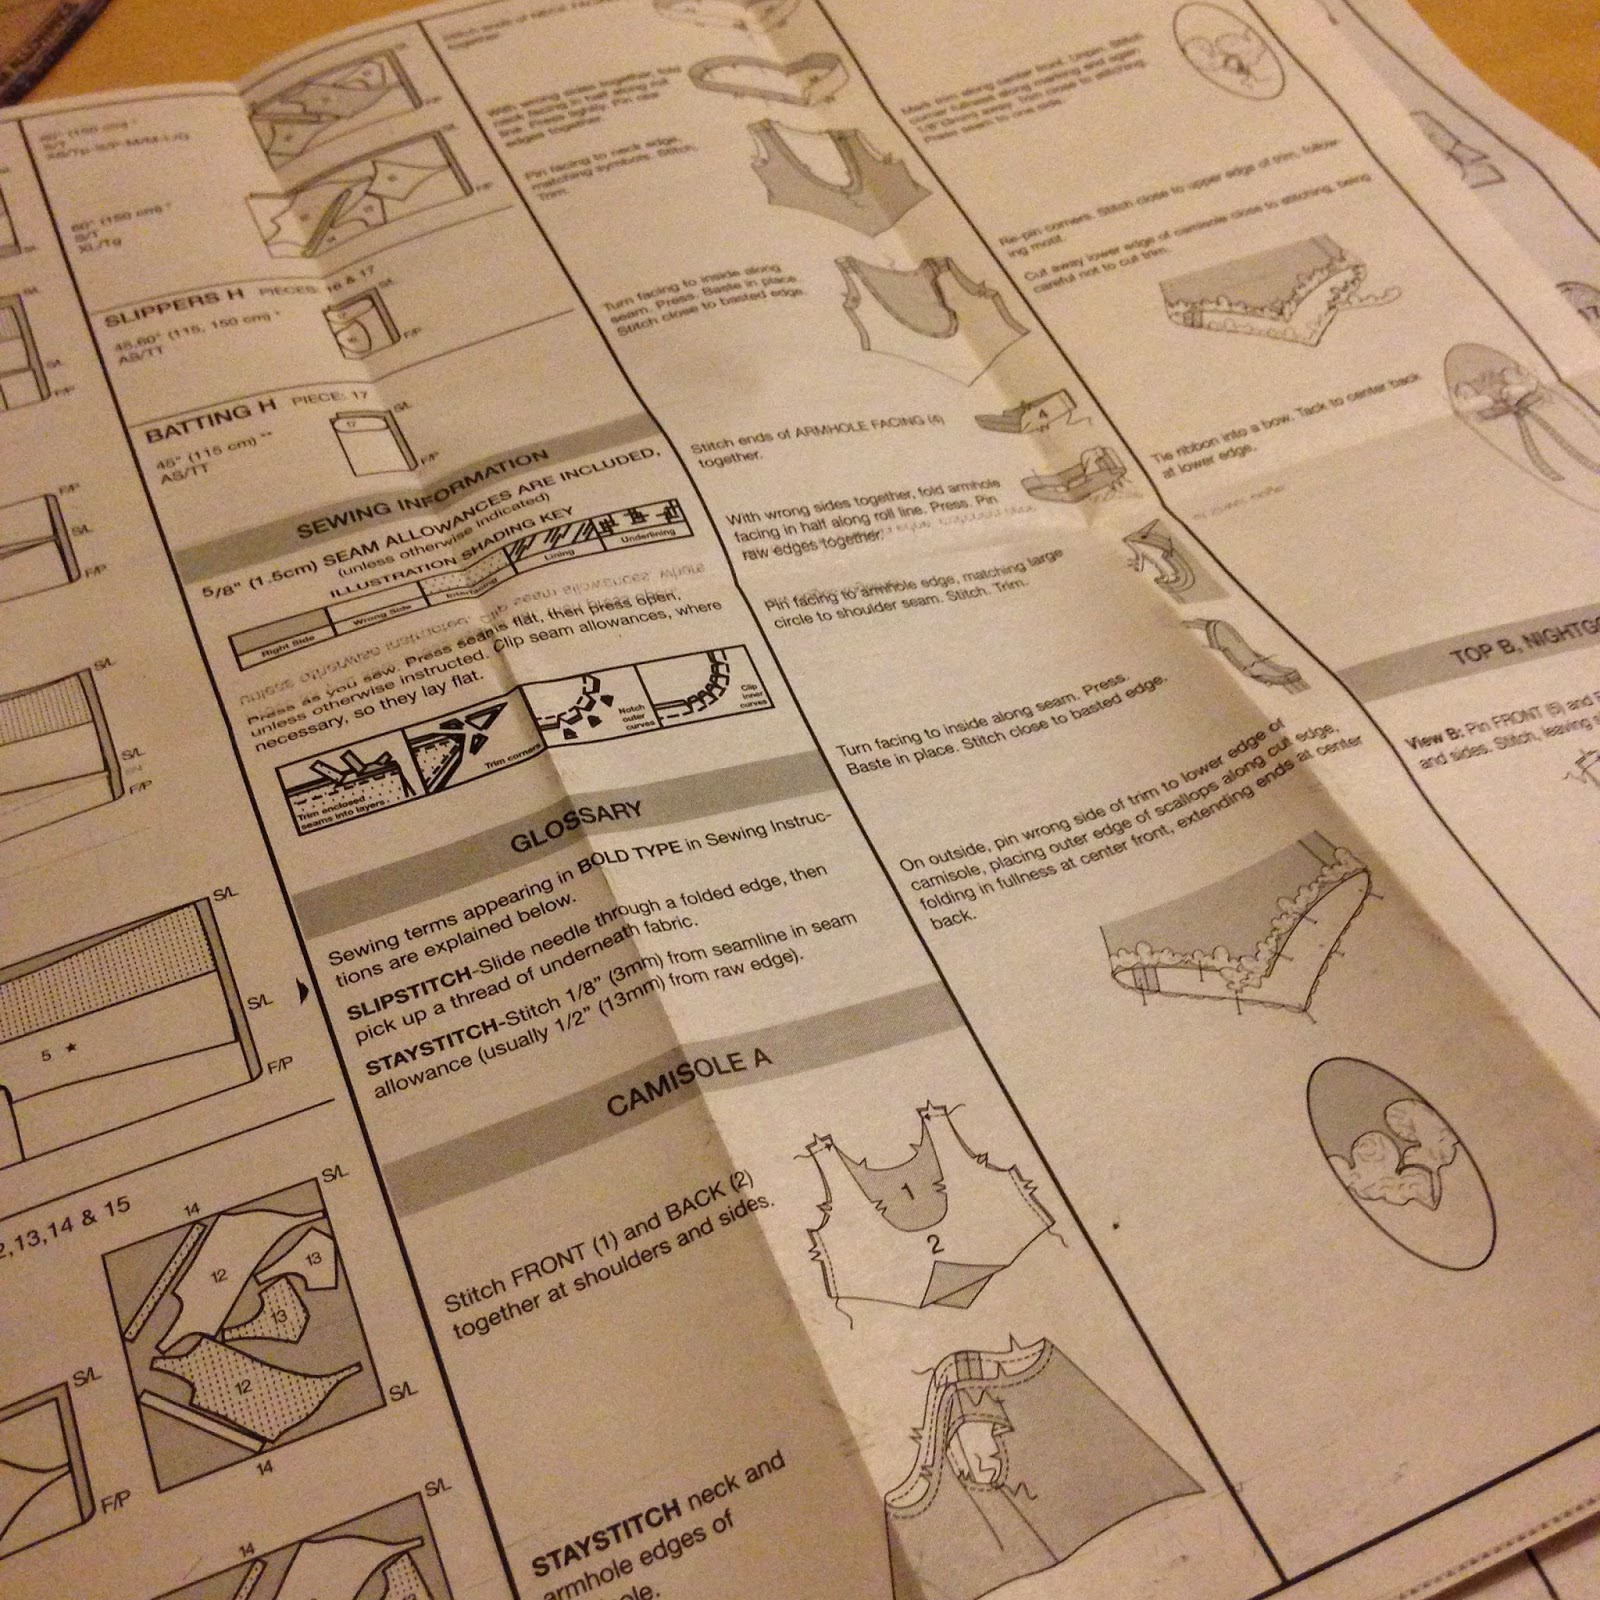
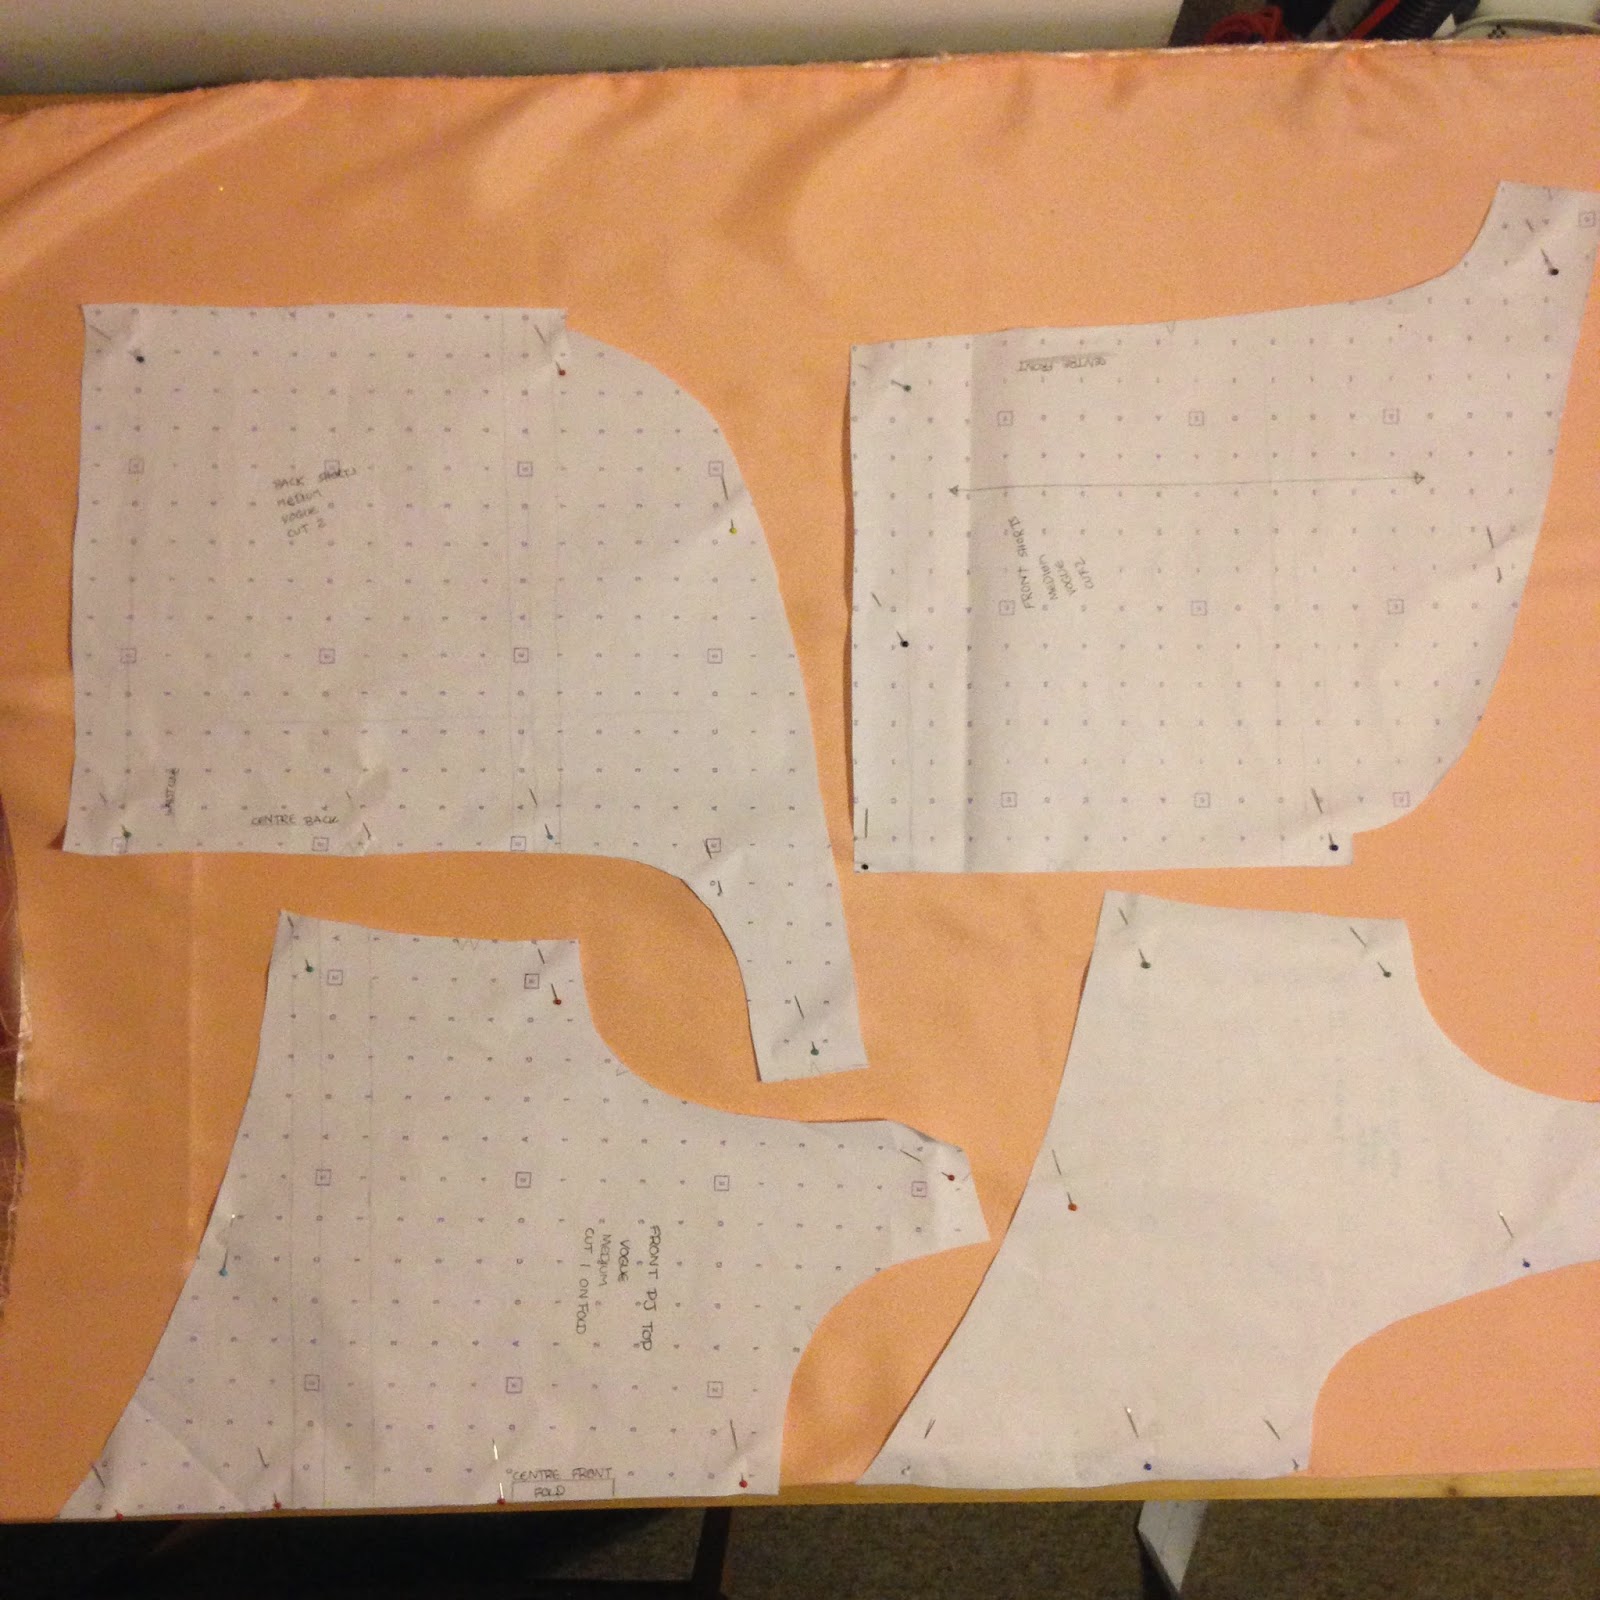
So first steps of using a pattern that isn't mine is to read the instructions, they are there for a reason. They tell you how lay out your pieces on your fabrics to make sure they all fit with out wasting fabric and give you a step by step guide on how not to mess up your dress. Then its time to cut out.
This is where my first alterations to the pattern happened. I wanted the lining of the skirt to be shorter so the full length of the chiffon is shear. This involved carefully folding the skirt panels to the correct length, another idea would have been to trace over the pattern but adjusting the length.
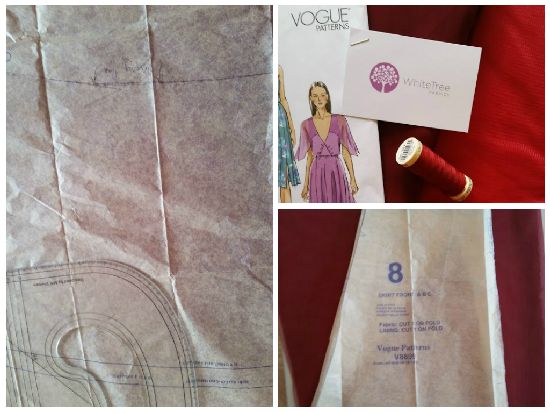
Now for the sewing, I started with the skirt of the dress. (Yes I did read the instructions, but I also tend to muddle them up a bit when I start, and it worked for me, but if you are not an experienced sewer then please don't risk not doing it properly)
Anyone who has ever worked with chiffon will know that you need to invest in pins, new pins that are sharp and lots of them. Any blunt pins will cause the fabric to pull and pucker. Every time this happens, somewhere a fairy drops done dead. Just kidding, but it is heartbreaking to watch.
Here's some pictures of the lots and lots of pinning!
Once I had sewn the seams of the skirt I then did the same for the lining of the skirt.
I then decided to make the elasticated waist of the dress a feature of the dress instead of hiding it away. So I used a thick black elastic that I cleverly recycled from an old pair of trousers that I no longer wear. I attached this to the skirt with a zigzag stitch, stretching the elastic as I sewed to create a gathered waist.
The skirt also has a slit up the left leg to add a cheeky bit of sex appeal.
After a few days off sewing due to crazy dreams of pins falling from the sky, I realised I only had two evenings left after very busy work shifts to complete my dress. My skirt needed a top, so for this bit I followed the instructions for the front of the dress, attaching the lining to the chiffon and the triangle panel in the centre.
I then stupidly decided to press the top without checking the temperature of the iron, the lining melted in a second and I wanted to cry. With quick thinking I sewed the burn hole together and luckily it is not noticeable through the chiffon. Panic over!
I then hemmed around the bust of the top to give a neat finish. I never ironed the dress again until it was completely finished.
The back of the dress I chose not to add the triangle shaped panel that was supposed to be gathered into the back. I attached the top to the skirt to create my dress, but this wasn't enough, there was something missing, it needed something else. So out came the large glass of red and my box of tricks and the embroidery began.
And now the finished garment, which I wore to a friends wedding over the weekend and I got some great feed back. This dress was totally worth all the stress of pinning and nearly burning and a very slippery hem that would not do what I wanted, but I got there and the fabric felt and looked fantastic. I never did iron the dress again, I was far too scared and had to get my mom to do it for me. I also had time to make a cheeky pair of matching earrings, however, I rushed out of the house and forgot to wear them with the dress. I will have to find another occasion to wear the outfit again.
We think Jo's dress is so pretty and feminine and best of all it's a one off, custom fit, handmade beauty complete with hand beading! We hope Jo has inspired you to have a go at making something like this yourself. Here's what you need:
The Sewing Pattern is ► here.
Find the red/wine chiffon ► here.
You'll also need the lining, which is ► here.
Co-ordinating threads available ► here.
Beads are available ► here.
Total supplies cost: approx £43.00 (in VAT & free delivery).
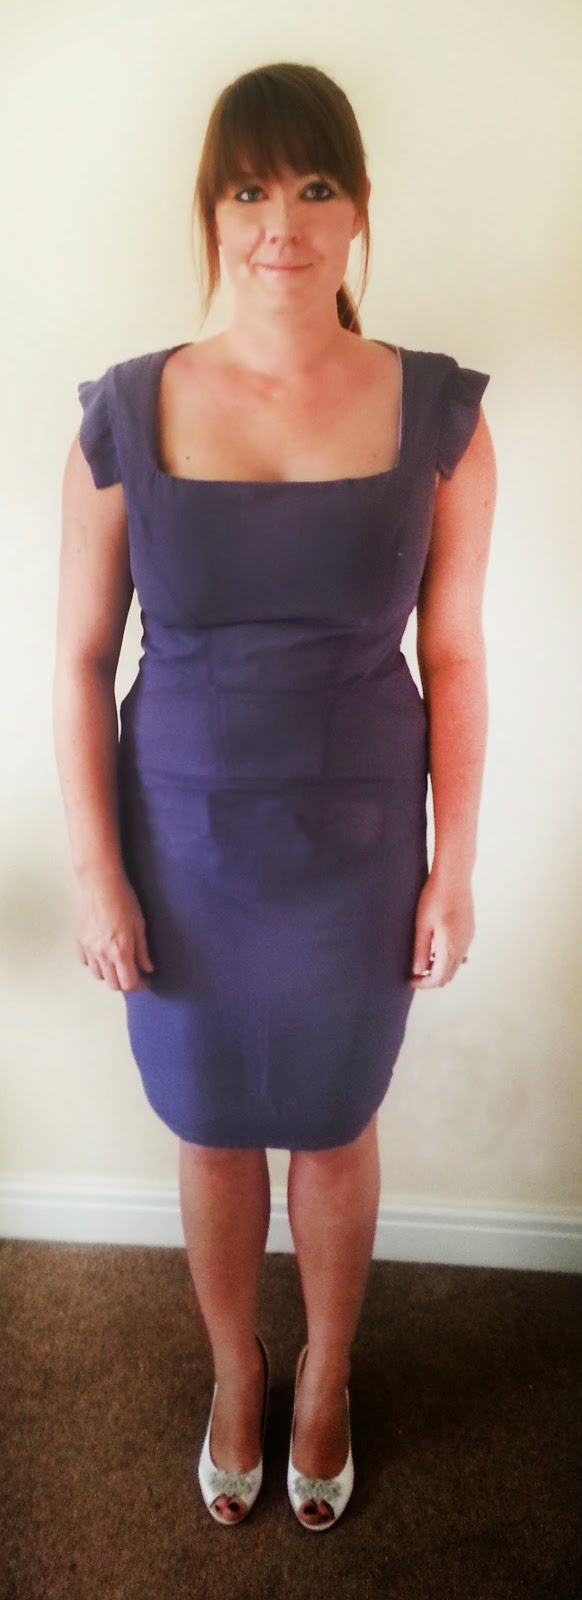
For this post, we're bringing you something from one of the Sew it Yourself Challenge Team. This creation is from Laura, and she's made the perfect custom fit dress, in our gorgeous Damson Chiffon.
Here's Laura's make in full:
I read the instructions through word for word and got to cutting out the right pieces for the dress.
I stitched a simple toile for this dress to ensure that it would fit me right. I'm glad I did because I had to make a few adjustments to the skirt and round my bust to give me more space to breathe but other than that it fitted well.
The damson chiffon fabric is fairly see through so for the lining I used a light blue cotton I had spare. Underneath the chiffon you can barely tell its there.


Feel like sharing anything you've made with our fabrics? We'd love to hear from you - just drop us a line here.
Happy Sewing!
WhiteTree fabrics are delighted to welcome The Sew it Yourself challengers to the WhiteTree Blogging Team!
The Sew it Yourself team is a group of 4 friends who decided to make their own clothes for a year and not buy anything at all (other than the essentials!). Meet the first team to join the White Tree Blog Team!
Bridie
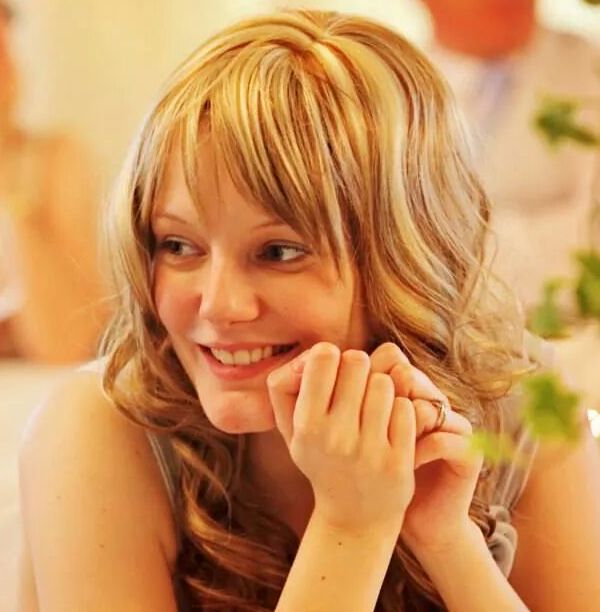
Bridie is 27 and recently became a mum for the first time to a beautiful little boy. Bridie set the challenge for herself originally because after being pregnant, her body shape changed. She needed a whole new wardrobe which would cost a fortune! Bridie was also getting fed up with buying clothes and not having them fit properly or lasting and seeing other people in identical outfits. So she thought "I've got all this fabric" ( she's a bit of a fabric horder ) "and the skills why don't I make more clothes?" So she set this challenge and asked her best friends if they wanted to joined in and they loved the idea. Which has made it so much more fun already !
Laura
Laura is 25 and recently got married to a wonderful husband who she met through work at the local pub/restaurant. Since graduating university 4 years ago feeling like it was unlikely that she could get a job in the industry, she left the fashion world behind and carried on working in the pub industry. For Laura, this challenge is a way to get back into making clothes again but for herself this time. She's itching to get started, having forgotten how much she loves designing and making clothes.
Lu
Lu has a serious shopping addiction and loves all things outrageous and tacky. When Bridie asked her to join her on this mission Lu was both excited and terrified. She's looking forward to getting back into pattern making.
Lu's background has been eclectic to say the least. She's more in touch with designing & making menswear than women's. When she left University, she worked as an intern for a couture house which was definitely an experience she will never forget! Then Lu's big break happened and she went to live in Guangzhou as a designer for a menswear company for 7 months until she was made redundant. So currently working her way up the ladder again but on the way she's going to make some fabulous garments! So here goes nothing and everything! Challenge accepted girls!
Jo
After 3 years of fashion, 6 months of International fashion business at Nottingham Trent to get a PG Cert, Jo completely changed her career path to become a nurse. With one year of nursing training to go, working as a health care assistant in hospitals and being constantly broke, this challenge has come at the right time to re-use, recycle and remember her sewing skills. Lets see if she still has her creative side!
We are so thrilled to welcome the girls onboard and we look forward to seeing what they come up with for their project with us.